





Mites and Lice in Backyard Chickens: Identify, Treat and Prevent
If you’ve got a wooden chicken coop, you’ve recently brought home some new chickens, or the weather’s turned warm and damp — you’re sitting in the exact conditions mites and lice love best. Timber coops are full of tiny cracks and joints that make perfect daytime hiding spots for red mite, new birds can arrive carrying a hidden infestation (or pick one up from wild birds visiting your yard), and warm, humid weather is when populations of both pests explode fastest. So if any of that sounds like your situation right now, it’s well worth getting ahead of it before it becomes a real problem.
If you keep backyard chickens long enough, you will eventually meet one of two uninvited houseguests: mites or lice. They’re often lumped together, blamed for the same symptoms, and treated with the same knee-jerk “just dust everything” response. They’re actually quite different beasts biologically — but the real goal here isn’t sorting out which one is the “worse” pest. It’s getting both of them off your birds and out of your coop, and keeping it that way.
Let’s break it down — what they are, how to spot them, and exactly what to do about them, including the full clean-out process that gets a bad infestation under control for good.
Mites and Lice: Know What You’re Dealing With
They get confused constantly (even seasoned keepers second-guess themselves), but here’s the short version:
Mites are tiny, spider-like parasites — technically arachnids, not insects — and the most common troublemaker is red mite (Dermanyssus gallinae). Red mite doesn’t live on your birds full-time. Instead, it hides in the cracks, crevices, and bedding of your coop during the day and comes out at night to feed on your chickens’ blood, then retreats back into the woodwork before dawn. This is why you can inspect a chicken in broad daylight and see nothing, while your birds are being eaten alive every single night. Red mite is greyish when unfed and turns a rusty red-brown after a blood meal — hence the name.
Lice, on the other hand, are insects, and unlike mites they live their entire life cycle on the bird itself, gripping onto feathers with their claws. They don’t drink blood — they feed on skin flakes, feather debris, and dander. You’ll usually spot them (or their tiny white eggs, called nits, glued to feather shafts) at the base of feathers around the vent, under the wings, and around the neck.
The practical upshot — and why it’s worth knowing which one you’re looking at, even though the end goal is the same:
- Mites are the more dangerous of the two. A heavy red mite infestation can cause severe anaemia, especially in smaller or younger birds, and in bad cases it absolutely can and will kill your chickens. They also bite humans and cause maddening itchiness — ask anyone who’s collected eggs from an infested coop at dusk.
- Lice are generally more of an irritation than a killer. They cause feather damage, restlessness, and skin irritation, but rarely cause the dramatic anaemia and death that severe red mite infestations can.
Both mites and lice are commonly introduced by wild birds visiting your yard, landing near feeders, or sharing space with your flock — which is exactly why total prevention is nearly impossible, no matter how clean your setup is. If you notice something on a bird that looks mite-like but is actually stuck to the feather rather than crawling loose, it might be lice rather than mite — worth a closer look before you decide on treatment.
One more thing worth saying clearly: an infestation is no reflection on your standard of animal care. Red mite in particular has been the bane of chook-keepers’ lives for centuries. Even the most fastidious, spotless coop can get hit. Don’t let it become a source of guilt — just a source of action.
The good news is that a thorough, well-timed approach will get even a serious infestation under control. It just takes going hard, going thorough, and not cutting corners on the PPE or the clean-up. Some infestations need the full process repeated monthly for a couple of months before the pests are properly gone, so patience and consistency matter as much as the products you use.
Before You Start: Protective Gear
Doing this job properly kicks up a lot of dust, dander, and the products you’re using to deal with the mites — none of which you want to be breathing in or wearing home. Before you touch a single piece of bedding, gear up:
- Hat, glasses/goggles, mask, long-sleeved top, long-legged pants, and impervious (waterproof) shoes.
- Consider spraying a personal insect repellent such as Aerogard or Bushman (or similar) on yourself before you start.
- Wear clothes that can go straight into a hot wash the moment you’re done.
Once you’re kitted out, you’re ready to work.
The Full Coop Clean-Out: Step by Step
This is a full-day job, so start early — you need time for the coop to dry properly before new bedding goes in. And here’s a golden rule: you can’t put untreated chickens into a clean treated coop, or clean treated chickens into an untreated coop. Both sides — birds and coop — need to be dealt with on the same day, or you’ll just be reinfesting one from the other.
- Clean out all bedding. All of it. Every last scrap.
- Boot the chooks out of the coop for the day so you can work without interruption (and without them getting a face full of chemicals).
- Release a flea bomb suitable for your coop’s size, and let it do its work.
- Once it’s clear, spray all wooden cracks and crevices with something like Avian Insect Liquidator, Coopex, another rural insecticide, or even a standard outdoor surface spray (the kind you’d use to stop ants, spiders, and cockroaches getting inside your house). Get into every nook and cranny — this is exactly where mites hide during the day.
- Add a layer of Pestene over the bare ground of the coop floor.
- Put down clean, new bedding on top. Best options are non-straw materials such as rice hulls, wood shavings, meadow straw, horse bedding like Proteq, compressed pellets, or even sand.
- Treat the birds themselves: dust with Pestene, or spray with Avian Insect Liquidator or Fido’s Flea Rinse (or similar), then follow up with a drip application of Ivermectin.
- Strip off your clothing before going inside and put it straight into the hottest wash it will tolerate — this is how mites end up living in your house, and trust me, you don’t want that.
- Then wash yourself on the hottest setting you can tolerate, paying particular attention to your hair. Good news: mites can’t actually live on humans — but they will bite us and leave you with maddeningly itchy welts in the meantime.
Regarding the bedding you’ve just ripped out: bag it up in plastic and put it straight in the bin, or burn it. Do not use it for mulch or compost — you’ll just be relocating the problem to your garden, and quite possibly reintroducing it to your coop down the track.
Winter vs Warm Weather
The full bucket-soak treatment — dunking birds in a warm water and permethrin solution, making sure to wet them right up to the top of the neck while carefully keeping the head out of the water — can only be done in warm weather. In winter, switch to Pestene dusting instead of a wet soak.
Either way, this isn’t a one-and-done job. You’ll need to repeat treatment weekly for at least two to three weeks, depending on how bad the infestation is. If you’re dealing with lice eggs glued firmly to feather shafts, expect to keep it up for longer, since the eggs can survive a single treatment.
 Product Options for Coop and Bird Treatment
There’s no single “best” product — most backyard chicken keepers end up combining a few:
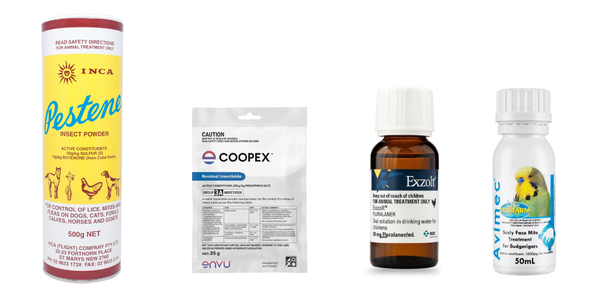
- Permethrin — available as Coopex sachets from Bunnings or your local produce/rural store, or as a bottled solution (the kind sold for horses). Effective against both mites and lice on coop surfaces and, in a diluted soak, on the birds themselves.
- Pestene — a classic dusting powder for both birds and coop, and handy to keep on hand for routine dusting every time you change bedding.
- Diatomaceous earth (DE) — a popular natural option, but one worth approaching with caution rather than reaching for by default. The abrasive dust can irritate and damage the respiratory systems of both chickens and humans if inhaled, it strips the protective, antimicrobial oils from feathers and skin, and its actual effectiveness against a serious mite or lice infestation is genuinely debated. If you do use it, apply sparingly and avoid breathing it in yourself.
- Exzolt — for ongoing management, this one deserves a special mention. It’s insanely expensive, but insanely effective. It’s administered in the drinking water and works systemically to prevent red mite from surviving on treated birds, making it one of the most reliable tools available for knocking down a persistent infestation.
- Ivermectin — often used as a drip-on treatment alongside dusting or spraying, particularly effective against a broader range of external and internal parasites.
Withholding Periods: When Can You Eat the Eggs Again?
This is the part that trips a lot of people up, and it’s genuinely important — you don’t want to be eating eggs that still contain treatment residue. Withholding periods vary a lot depending on the product, so always check the label of the specific item you’re using, but here’s a general guide to how the common treatments stack up:
- Permethrin (including Coopex) — this is genuinely inconsistent across products, so the label is essential reading here. Many poultry-labelled permethrin products carry no stated egg withholding period, but residues have been detected in eggs for a week or more after treatment in some studies, so if the label doesn’t specify a clear withholding period, a cautious approach of waiting around a week is a sensible, low-risk choice. Important: permethrin is highly toxic to cats, even in small amounts, so keep any cats well away from treated birds, coops, and bedding until everything is completely dry, and never let a cat groom a permethrin-treated chicken.
- Pestene — most Pestene products carry a nil egg withholding period, meaning you can keep eating eggs right through treatment. There’s typically a very short meat withholding period (around 1 day) if you’re also raising birds for meat, but eggs are unaffected. Always double-check the specific product label, since formulations can vary slightly between brands.
- Exzolt — zero-day egg withholding period, so eggs laid during or immediately after treatment are safe to eat. There is, however, a 14-day withholding period for meat and offal if you’re also raising birds for the table.
- Ivermectin — this is the one to be most careful with. Ivermectin isn’t officially registered for use in egg-laying hens in Australia in most of its common forms, which means there isn’t always a clear, tested withholding period to rely on. Specific labelled poultry products (such as certain drop-on formulations) will state their own withholding period on the packaging — follow that exactly. But if you’re using an off-label product (like an ivermectin pour-on made for cattle or horses), residues can persist in egg yolks for several weeks, so it’s far safer to be conservative and hold eggs back for at least two to three weeks, discarding rather than eating or selling them during that time. Brands include Avimec and Ausmectin.
The golden rule: always read the label of the exact product you’re using, since formulations, concentrations, and registered uses can differ even between products with the same active ingredient. If a product doesn’t clearly state a withholding period for eggs, or isn’t specifically registered for use in laying poultry, treat that as a sign to either seek advice from a vet or default to a longer, more cautious withholding period rather than assuming it’s fine. It’s also worth noting that feeding withheld eggs back to your chickens (a common habit for using up “spare” eggs) will reintroduce any residue into their system, effectively extending your own withholding period — so bin them instead.
The Chemical-Free Route
If you’d rather avoid chemical treatments altogether, or want a genuinely natural ongoing prevention routine, there’s a combination worth trying:
- Apple cider vinegar added to their drinking water.
- Dry red chilli flakes and pumpkin seeds sprinkled around the outside run area — chickens will eat these willingly, and both are reputed to help keep birds mite and worm free.
You’ll often see diatomaceous earth (DE) recommended alongside these as a dust-bath and bedding additive, and plenty of keepers swear by it. It’s worth going in with your eyes open, though: the dust is abrasive and can irritate or damage the respiratory system in both chickens and humans if inhaled, it strips the natural, antimicrobial oils from feathers and skin with repeated use, and how effective it actually is against a real infestation is genuinely disputed. On balance, it’s not something to reach for as a go-to solution — if you want to try it, use it sparingly, avoid breathing it in, and don’t rely on it as your main line of defense.
It’s worth being realistic about this approach as a whole, too: natural products like these will generally repel mites and lice to a certain extent, but they won’t reliably kill an established, heavy infestation the way a targeted product like permethrin, Pestene, or Exzolt will. Think of the natural route as a light-maintenance, ongoing prevention strategy, and the chemical treatments as your emergency response when things have properly gotten away from you.
Ongoing Prevention: Keeping Them From Coming Back
Once you’ve cleared an infestation, the goal shifts to prevention:
- Choose bedding wisely. Use materials that don’t harbour mites, such as rice hulls, wood shavings, Proteq pellets, or sugarcane or lemongrass mulch. Avoid the cheap, hollow-stemmed straw most of us default to because it’s affordable — mites love to live inside those hollow stems, which makes straw one of the worst bedding choices if mites are a recurring issue for you. Hemp bedding is excellent too, though it tends to be expensive and often needs to be ordered online, so many keepers only use it occasionally rather than as a full-time solution.
- Top up your Pestene every time you add fresh bedding, as routine maintenance.
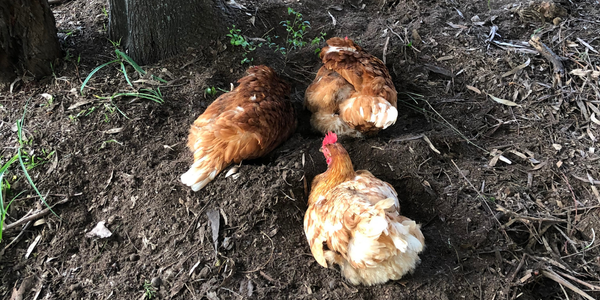 Give them a proper dust bath area. Dust bathing isn’t just a cute chicken quirk — it’s one of their natural ways of managing mites and lice themselves. By flinging loose, dry dirt through their feathers and skin, chickens help smother and dislodge parasites and their eggs, as well as keeping their feathers and skin in good condition. It won’t clear a serious infestation on its own, but a dedicated spot with fine, dry dirt or sand (kept undercover so it stays dry) gives your flock the tools to keep on top of low-level pest pressure between your own treatment and clean-out efforts.
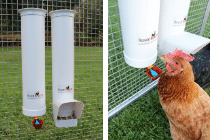
- Keep your feed secure. Since mites and lice are commonly brought in by wild birds, restricting their access to your flock’s feed helps a lot. A covered, hook-on feeder with a rain cover makes it much harder for pigeons, sparrows, and other wild birds to see or reach the feed from overhead, and a top-opening treadle-style feeder achieves the same thing by requiring weight to trigger it open — light freeloaders like pigeons can’t trip it, and rats can’t easily get into the top-opening style either. Royal Rooster has a good rundown on why spilt feed is what really attracts mice and rats to a coop in the first place, which is worth a read if rodents (and the parasites they carry) are part of your problem too.
The Real Long-Term Fix: Rethink Your Timber Coop
Here’s the honest truth that’s worth sitting with if you’re going through this cycle year after year: if your coop is timber, you’re fighting an uphill battle no amount of dusting or spraying will ever fully win.
Wooden coops are riddled with tiny cracks, joints, screw holes, and porous grain — every one of them a perfect daytime hideout for red mite, completely out of reach of your spray, your dust, and your eyesight. You can strip a timber coop back, treat every visible surface, and still leave thousands of mites tucked away inside the timber itself, just waiting for the coop to warm up again so they can re-emerge. That’s why so many keepers find themselves doing this same exhausting clean-out over and over, sometimes multiple times a year, no matter how diligent they are.
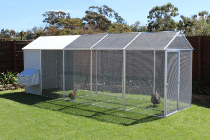
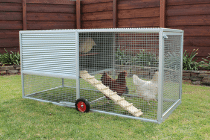
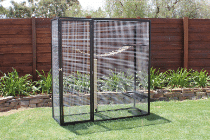
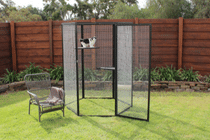
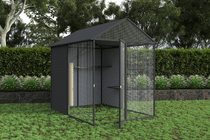
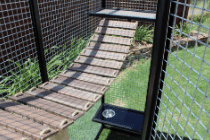
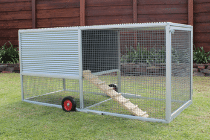
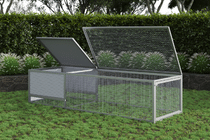
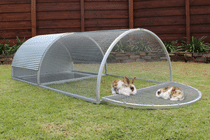
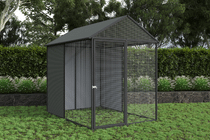
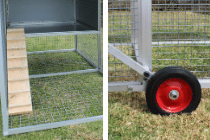
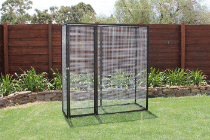
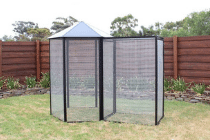
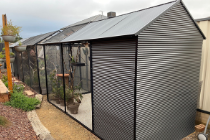
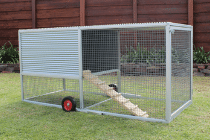
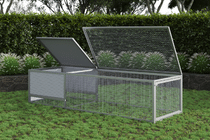
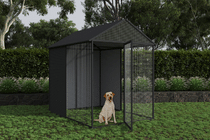
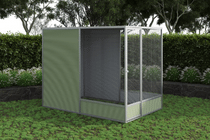
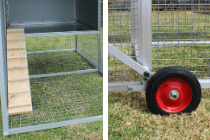
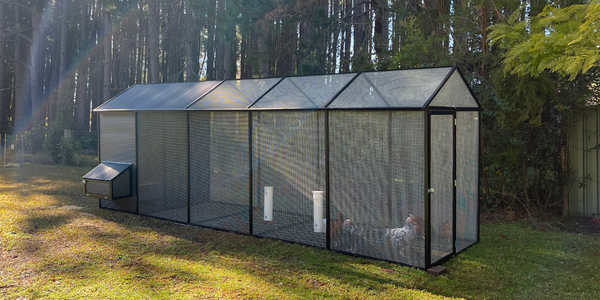 This is where switching coop materials genuinely changes the game. Coops built from aluminium frames and Bluescope steel — like Royal Rooster’s range of chicken coops — simply don’t offer mites the same hiding places. There’s no porous grain for them to burrow into, no soft timber for them to nest inside, and no endless network of tiny joints and cracks. Surfaces are smooth and sealed, which means a proper wipe-down or spray actually reaches everywhere it needs to, every time, instead of leaving pockets of mites untouched. It also means routine cleaning takes a fraction of the time and effort a timber coop demands.
If you’re already deep into your second or third mite battle this year, or you’re setting up a new coop and want to avoid this cycle altogether, it’s genuinely worth weighing up the upfront cost of a non-timber coop against the ongoing cost — in money, time, and sheer frustration — of repeatedly treating a wooden one. For a lot of keepers, making the switch is the single biggest thing that took mites and lice from “constant recurring problem” to “something I barely think about anymore.”
Going Biological: Meet Hypoaspis
For a longer-term, low-intervention approach, some keepers introduce Hypoaspis — a predatory mite that eats other mites (including red mite) rather than feeding on your birds. There’s strong anecdotal evidence from the backyard chicken community that it helps keep red mite numbers down, and importantly, it poses no harm to your flock or your property if you introduce it. It won’t replace a proper full clean-out if you’re already dealing with a heavy infestation, but as part of an ongoing biological control strategy, it’s a genuinely interesting option worth researching further.
If you’re going down this route, timing and consistency matter. Spring is the time to make your first release of the season if you’ve previously detected red poultry mite in your flock — the population will have quietened down over winter, but it doesn’t just disappear, and it will come back as the weather warms up.
A simple way to release Hypoaspis is in small containers such as takeaway food or dip containers, with holes drilled into both the lid and the base. These can be cable-tied to the underside of perches, popped into nest boxes, or tucked into the corner of any vacant pens or cages — basically anywhere poultry equipment is stored, since that’s exactly where red mite likes to hide too.
Releases should be repeated every 1 to 2 months from spring through to late autumn. If you let it stretch out to 4 months between releases over the warmer months, red mite tends to reappear. Over winter, there’s no need to release at all, since both red mite and the Hypoaspis predatory mites are inactive in the cold.
The Bottom Line
Mites and lice are both a normal, if unwelcome, part of keeping backyard chickens — and dealing with them isn’t a sign you’re doing anything wrong. Red mite is the one to take seriously, since it can genuinely kill birds in a bad infestation, while lice tend to be more of an ongoing irritation. Whichever you’re facing, the combination of a thorough initial clean-out, the right product for your situation, sensible bedding choices, and consistent ongoing prevention will get things back under control — and keep them that way.
Add comment